
This article shows the steps for Installing the WWII Jeep Front Brake Drum


|
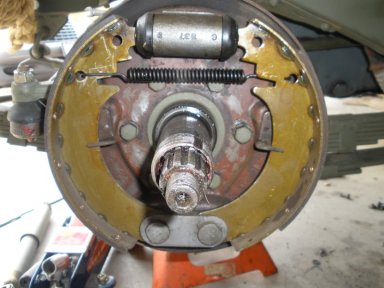
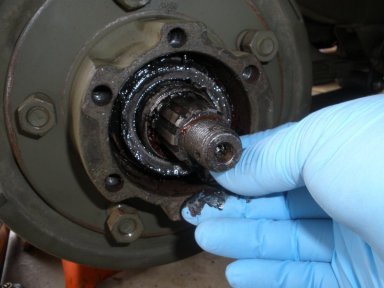
1. Assuming that you have removed your Front Brake Drum already, we now want to replace it. Before you begin, it is recommended to Pack your Bearings. You should be ready with to install your drum over the brake pads |
|
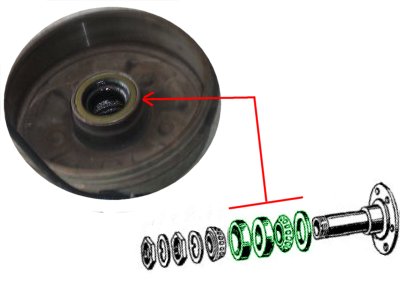
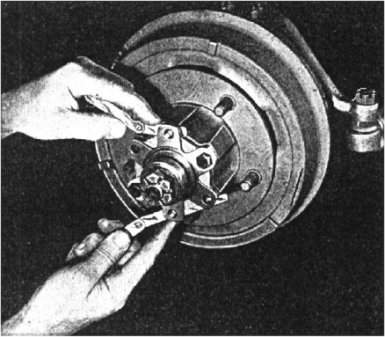
2. If you are re-installing the front brake drum, the back side of your drum should have some components already installed as shown here, if not consult the TM-1513 and install them. It is a good idea, to remove these items and re-pack your bearings while your drum is off. |
|
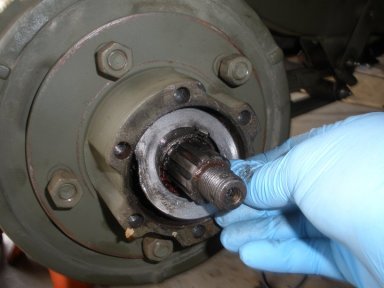
2. Assuming your are ready to re-install, push your Front drum carefully over the axle shaft and over the brake pads. You should feel the drum move all the way back on the axle over the brake shoes. |
|
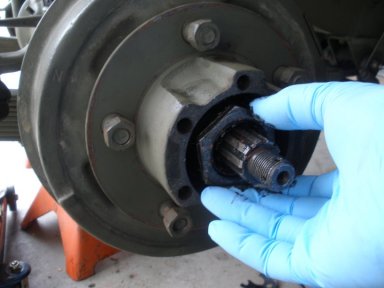
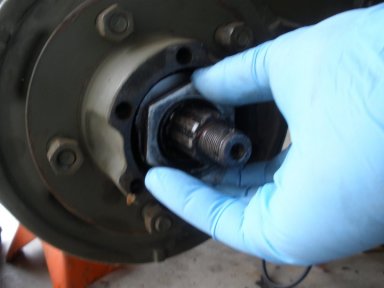
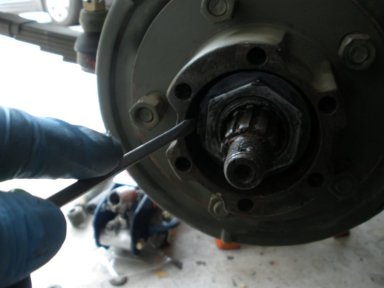
3. Next, install your cone bearings with the pointy end first (see diagram above). Push them all the way back into the drum. |
|
4. Next, find the notch on the bearing lock washer and align it on the axle shaft and push all the way back so it sits next to the cone bearings. |
|
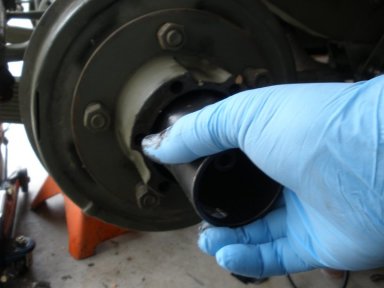
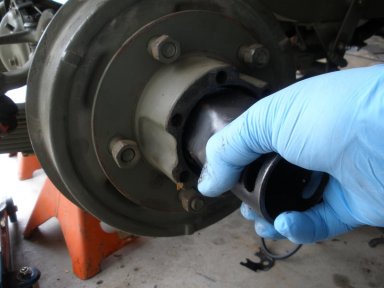
5. Apply the wheel bearing nut with your hand screwing it on as far as you can with your fingers. Your drum should still be all the way back on the axle |
|
6. With your wheel bearing wrench, hand tighten the nut on the wheel. TM-1513 recommends to tighten the nut until you start to feel drag when you spin the wheel. In many cases, you may not feel any drag. If you have it on tight or if you feel a little drag, the TM recommends that you bring it back 1/4 turn. The drum should NOT have any play in it when moving back and forth. |
|
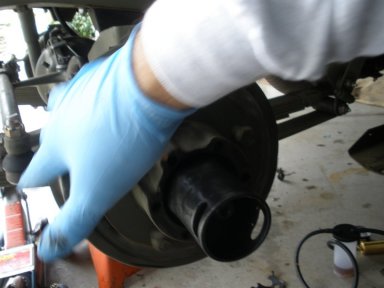
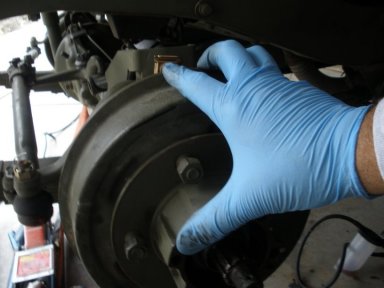
7. Once you think the nut is on correctly, spin your drum (should be out of gear of course), and you see and hear the drum move freely. |
|
8. Install the 2nd lock washer on the axle shaft, with the notch lined up on the shaft as you did the previous one. Push all the way back against the nut. Note: if this washer has a bended edge to it, you want the lip to be pointing toward you, away from the nut it is seated against. |
|
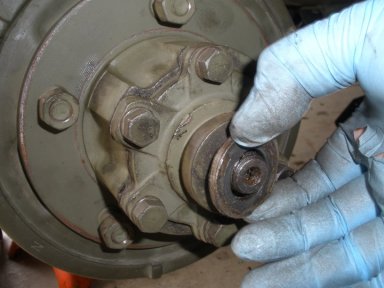
9. Next, install the last bearing nut with your fingers all the way back against the lock washer. If you try to wiggle your brake drum it should have no play in it. |
|
10. Then tighten the bearing nut with your wrench so it is nice and snug. Use a screw driver in the wrench notches to tighten this nut on securely. |
|
11. Spin the drum again and try and wiggle it, should be secure with no play. |
|
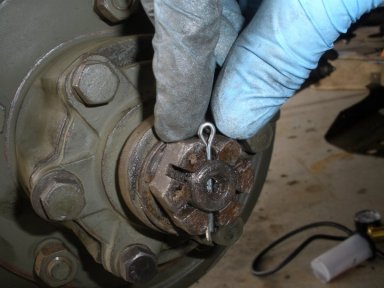
12. With a screw driver, bend the lock washer out so it has a little lip on it to keep the outside bearing nut from revolving. Many say this is not needed, but this is a common procedure found on most WWII jeeps. |
|
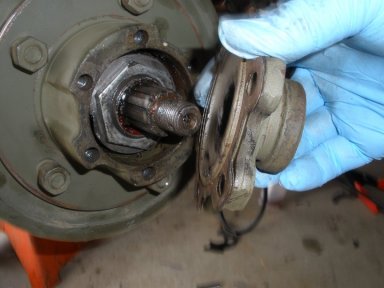
13. Measure for SHIMS! As you see in this picture from the TM, put your flange back on and screw on the axle shaft washer and nut. Continue to screw on the castle nut by hand until you see the proper placement for the cotter pin through the castle nut hole. Pull the flange toward the castle nut and use your feeler gauge to determine how many shims your need. |
|
13. Now align the shims on the flange and install on the axle shaft. |
|
14. Press the flange all the way back and install the flange bolts. |
|
15. Next install the axle shaft/flange washer |
|
16. Then install the axle shaft/flange castle nut. The castle nut should tighten down past the hole for the cotter pin, to to far. |
|
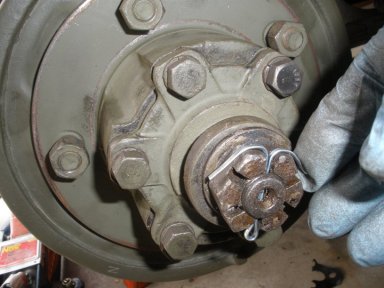
17. Bend the cotter pin around the axle shaft nut as shown. |
|
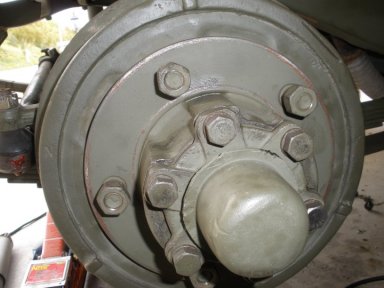
18. Next, slap on the cap and your done! |
